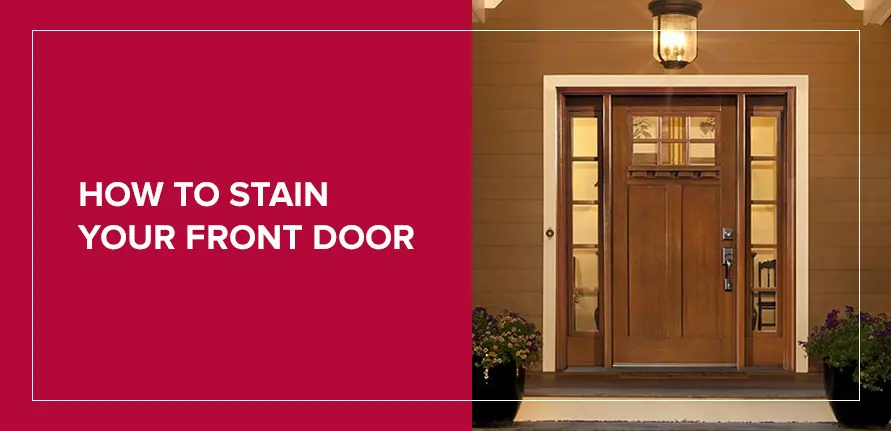
If you have an old wooden door, you may be wondering what you can do to spruce up its curb appeal. Restaining and refinishing it can make a significant difference. This process will leave your old wooden door looking good as new, and you can do it in just a few days.
1. Choose Your Products
The best stain to choose is one that is the same shade or darker than your current one. If you want to go lighter, you will have to completely remove the existing varnish. This process can be challenging, especially if your door has trim work or details.
You’ll need to purchase a stain and a varnish or topcoat. You can use a conventional liquid stain and outdoor varnish. A gel stain is another popular option. Gel stain is thicker than liquid, and it does not go into the wood as much. As a result, it can be applied over the existing stain so you don’t have to do much sanding or stripping. If you do opt for a gel stain, you’ll still need an outdoor topcoat.
Here are a few products and materials you may need to stain your front door:
- Sandpaper: Always use sandpaper before restaining a front door to help the product last longer.
- Microfiber cloth: Smooth cloth or rags can help you spread the stain or clean up areas where you don’t want the color.
- Drop cloth: Place the door on a drop cloth once you’ve removed it off the hinges to keep the stain from dripping on the floor or ground.
- Wood putty: This product can help you fill the cracks or crevices in old doors and reshape the wood to its original form.
- Putty knife: When using wood putty to repair an old or broken door, a putty knife can smooth the cracks and crevices.
- Painter’s tape: Painter’s tape may ensure that you don’t get any stain on the windows or handles of the front door.
- Screwdriver: A screwdriver is excellent for taking the door off its hinges and removing any necessary items before the staining process.
- Paintbrush: Have a paintbrush on hand to spread the pre-stain conditioner before you choose the product.
- Paint pad: A paint pad helps you spread the stain smoothly on the front door without worrying about paintbrush strokes.
- Foam brushes: Use foam paint brushes to place detailed strokes of the stain on the door.
- Paper towels: Paper towels should always be handy if you need to clean up any messes.
- Pre-stain conditioner: Pre-stain conditioner helps the stain stick to the wood.
- Mineral spirits: Mineral spirits help clean up any spilled stain.
2. Clean and Sand the Door
Remove all the hardware from the door, leaving it on the hinges. Use a wood cleaner to completely remove any dirt. Patch cracks with a wood filler if you need to. It’s a good idea to open the door and lay a drop cloth under your work area. You can use a door stopper so it can’t move while you’re working.
Wait until the door has dried, and then start sanding. It’s important to have a smooth area for the new stain and finish. If you’re trying to completely remove the old varnish, you’ll likely have to use a chemical stripper. Otherwise, you can use a sander to remove the varnish from all the flat areas of the door for the best look.
3. Apply the Stain
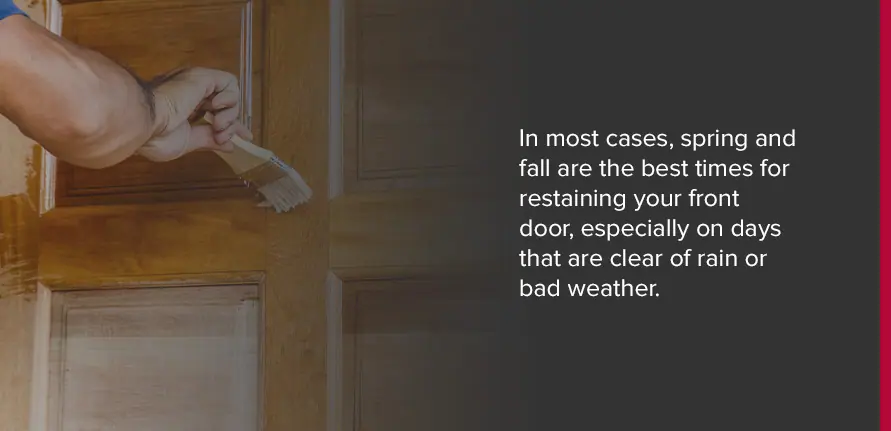
Applying the chosen stain color correctly is the next step when learning how to stain an exterior wood door. When you’re ready to stain, start at the top of the door and work your way down. Smooth the stain on with a brush and wipe off any excess with a rag. The stain will become darker the longer it sits.
Follow the instructions on the stain you purchased regarding how long to wait before applying a second coat. Try to wait until it is dry before you close the door for the night, as the seal of your door can get in the way.
When and How to Stain a Wooden Front Door
It is best to stain your door on cool days with low humidity. In most cases, spring and fall are the best times for restaining your front door, especially on days that are clear of rain or bad weather. It may also be a good idea to avoid staining in direct sunlight or on hot or humid days, as heat may cause the finish to dry incorrectly. Avoid wintertime and cold or windy days as cold temperatures may affect the dry time, and windy conditions may cause dirt, debris or insects to be caught in the stain while it is still drying.
4. Add Varnish or Topcoat
The next day, you’ll be able to apply the varnish or topcoat that will protect your new stain from the elements. Make sure it’s labeled for exterior use unless your door is protected by a storm door. The drying time and the number of coats can vary, so check the instructions on the product before you start applying it.
Maintenance Tips
After you’ve stained your front door, you’ll want to maintain the door every few months to ensure that the stain and finish are in good condition. Keep your door looking fresh and shiny with a protective wax or polish. Here are a few products you can use to maintain your front door:
- Wax: Wax can extend the life of your stain and finish.
- Polyurethane polish: This finish is waterproof but can yellow over time.
- Varnish polish: UV-resistant and durable, varnish polish is an excellent addition for exterior doors.
- Wax-based polish: Combining the effects of wax and polish, this finish can hide scratches and add shine.
- Lacquer polish: Lacquer polish comes in glossy or matte options and dries quickly.
You may also want to check the weatherstripping along the seams of your door. Weatherstripping helps keep out cold drafts which can increase your electric bill, and fixing the weatherstripping can help ensure your stain does not experience as much wear or fading.
Try to refinish the stain on the front door when it is beginning to look worn, and touch up any spots with finish or varnish when you spot them.

View Our Entry Doors
Restaining your front door can be a lot of work, especially if you want a lighter color or your door has significant damage. If your current door isn’t giving you the style you want, Quality Overhead Door can help. Browse our huge selection of entry doors today.
Additional Resources on Entry Doors:
- How to Paint Your Front Door
- Should You Paint or Stain Your Front Door
- Small Home Improvements Pack a Big Punch